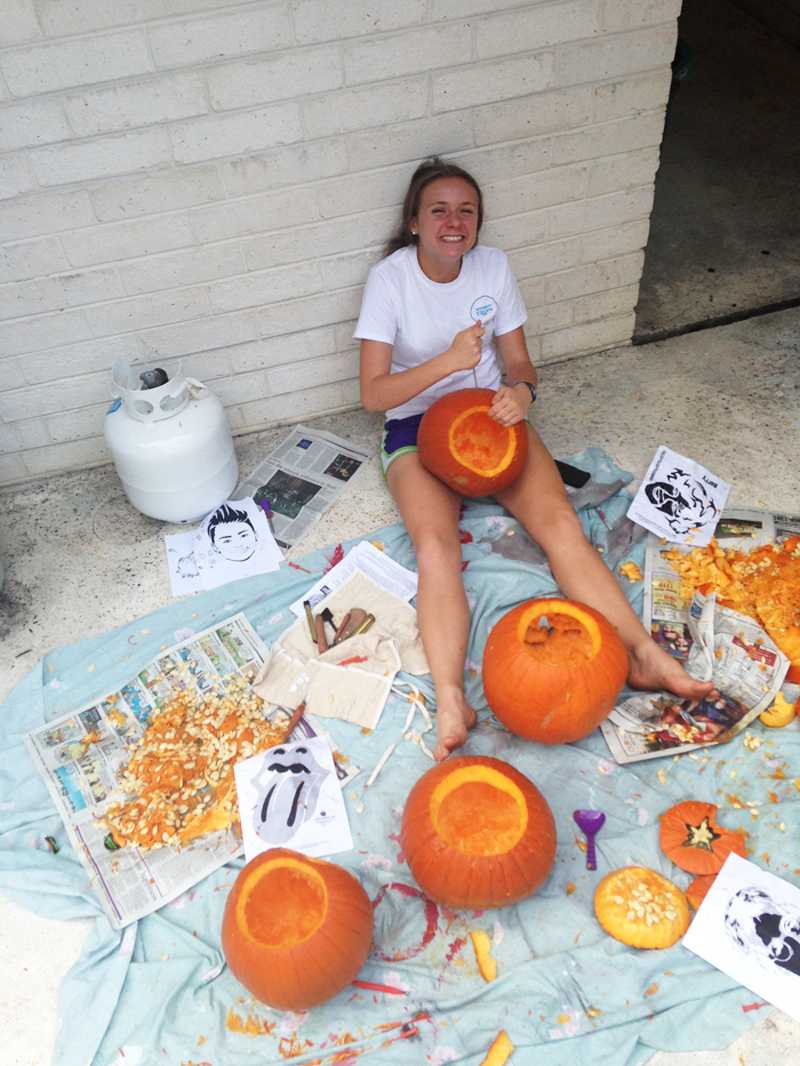
Tools: pumpkin, templates, thumbtacks, scraper, poker, small carving knife, medium carving knife, large carving knife, newspaper, toothpicks, sharpie, candles, and the willingness to smell like a rotten pumpkin and find pumpkin seeds in odd places.
Pumpkin carving is a classic way to celebrate Halloween and the fall season in general. For this how-to, The Bite decided to put our own spin on this fall festivity by carving celebrity pumpkins. Keep reading to see how it’s done!
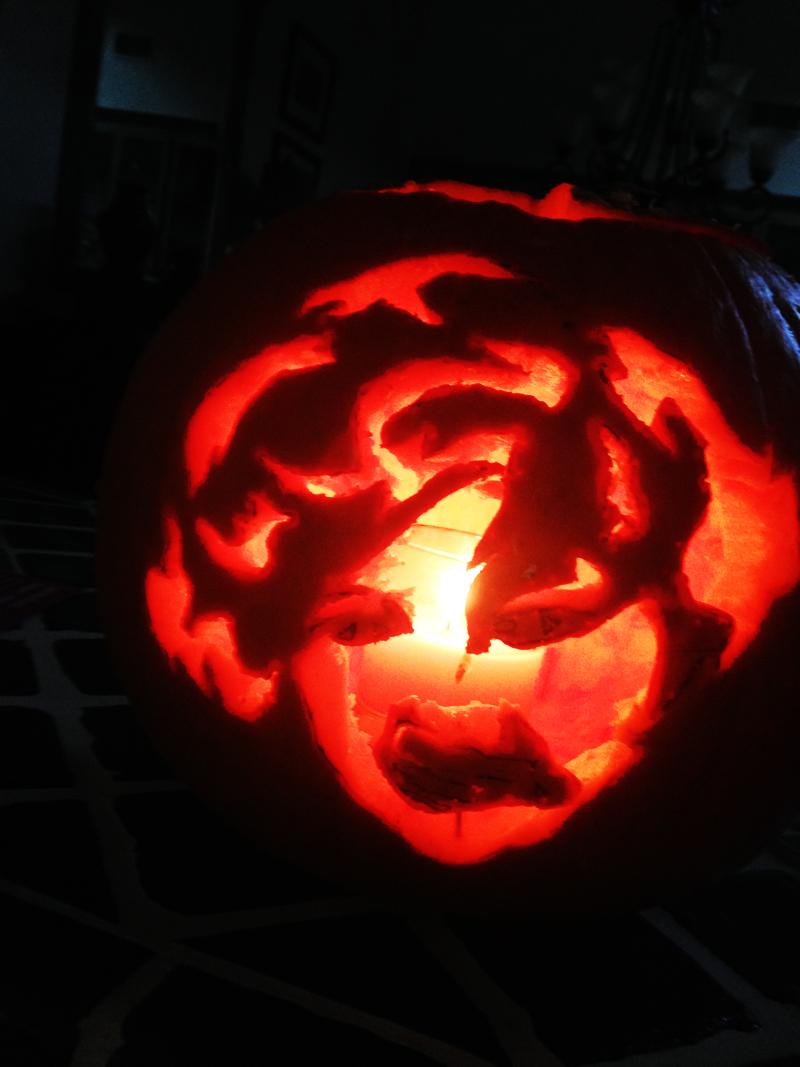
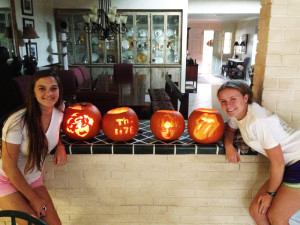
First, you want to pick out your template. If you’re really feeling creative, you can Sharpie your own design onto the pumpkin, but most people will stick with the templates. Our templates are from http://ultimate-pumpkin-stencils.com and http://www.stoneykins.com. We decided to go with the Rolling Stones logo, Harry Styles, and John Lennon.
Before you start you are going to want to cut open your pumpkin with a large carving knife. Then scrape out all of the “guts” with the scraper tool and place them in the trash or keep them to make a yummy fall snack!
Once you have your template, pick out your pumpkin. Pumpkin patches are always an option, and they’ll make you feel like a fall-abiding citizen, but the most budget-friendly pumpkins can be found at Publix for $5.99. The pumpkin should be big enough for the face or logo to fit. Try to avoid any weird lumps, non-orange patches and anything that might resemble a disease. Look for one with a flat side; it’s beneficial!
So now you have your pumpkin and your template. Use thumbtacks to secure each of the four corners onto the pumpkin. This prevents the paper from slipping and sliding while trying to do the cutting.
One of the “tools” we had listed was called a poker. Poke holes around the outlines of the stencil with roughly half an inch between each hole. Continue this until you’ve outlined every shape. Once you’re finished with that, take off the stencil. If it just looks like a whole mess of dots to you, you can outline the shapes with a Sharpie using the stencil as a guide.
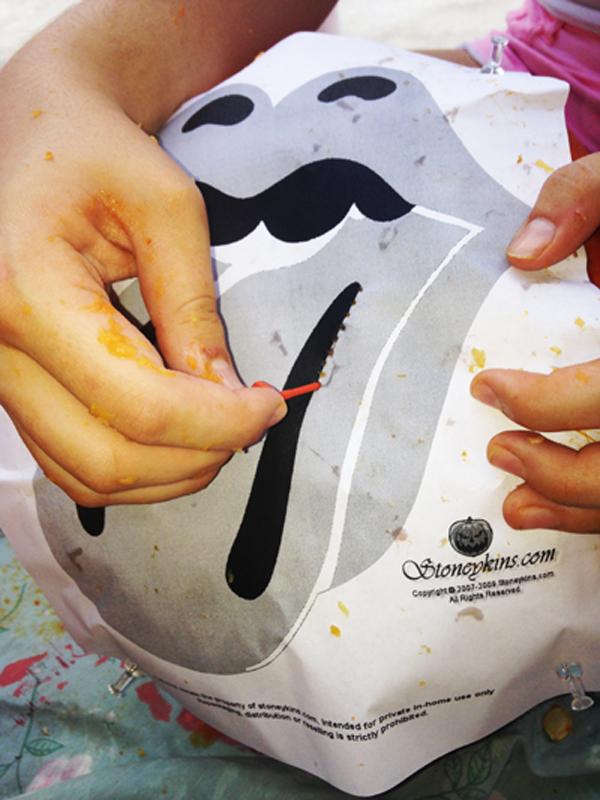
Here comes the actual carving part. Using a small carving knife, cut within all of the dots. Be very careful not to cut the wrong part. You are probably going to get tired along the way but perfection is painful, my friends. If there are parts that become flimsy (i.e. Harry’s nose and John’s Eye,) stick a toothpick through those parts and try to attach it to a part that is more secure.
Finally, you are going to want to light up your pumpkin! Place a little white candle in the middle of the candle and light the candle. Another option is getting tea lights, which are plastic “candles” that have the same flickering effect of a real candle.
If these faces comes out mangled, don’t fret. Halloween is all about being a little spooky and weird, right? Have fun!
